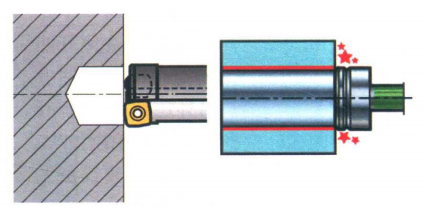
1. Hole Size Increase
When using a machining center or similar equipment for drilling with a rotating drill bit and noticing an increase in hole diameter (Figure 1), it is recommended to consider increasing the cutting fluid flow rate, such as cleaning the filter, cleaning the cutting fluid hole in the drill bit, or trying to select an outer blade with a less sharp groove (while keeping the inner blade unchanged). For lathes and other situations where the drill bit does not rotate, first check if the lathe is aligned, or rotate the drill bit 180°. Then, the hole diameter can be adjusted using radial adjustment methods, and you can also try selecting an outer blade with a less sharp groove (while keeping the inner blade unchanged).

2. Hole Size Decrease
When using a machining center or similar equipment for drilling with a rotating drill bit and noticing a decrease in hole diameter (Figure 1), it is also recommended to first increase the cutting fluid flow rate, such as cleaning the filter, cleaning the cutting fluid hole in the drill bit, and trying to use a less sharp inner blade with a sharper outer blade. For lathes and other situations where the drill bit does not rotate, first check if the lathe is aligned, or rotate the drill bit 180°. Then, the hole diameter can be adjusted using radial adjustment methods, and you can also try using a less sharp inner blade with a sharper outer blade.
3. Vibration
If vibration occurs during machining with a replaceable drill bit (Figure 3), it is recommended to first reduce the drill bit overhang to improve workpiece stability. Previously, when introducing the "replaceable drill bit length-to-diameter ratio," readers were recommended to watch videos of machining with different length-to-diameter ratios of replaceable drill bits , from which the impact of drill bit overhang on drill rigidity can be appreciated. Secondly, it is suggested to reduce the cutting speed and feed rate; the longer drill bit mentioned earlier in the video reduced these cutting parameters. Additionally, you can try another groove type for the outer blade and adjust the feed speed within the recommended cutting parameters.
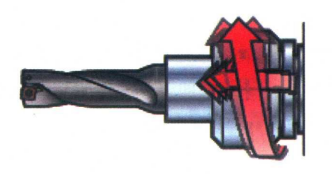
4. Insufficient Machine Torque
If insufficient machine torque is observed when using a replaceable drill bit (Figure 5), it is recommended to first reduce the rotation speed, which is generally considered very effective in reducing machine torque; secondly, reduce the feed rate; of course, you can also choose a sharp groove type for the blade to reduce cutting force.
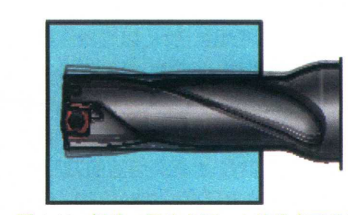
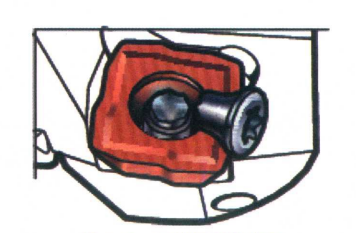
5. Screw Damage of the Blade
If screw damage of the blade occurs during drilling with a replaceable drill bit (Figure 6), it is recommended to: first, use molybdenum disulfide lubricant, as many cases are due to the screws being affected by cutting heat and having an affinity reaction with the metal material between the screw holes, and using molybdenum disulfide lubricant can prevent this affinity reaction; second, use a torque wrench to tighten the blade screws, as many are broken due to excessive torque when tightening. In addition, excessive torque can deform the screw threads even if it does not break the screw, which in turn affects the use of the screw.
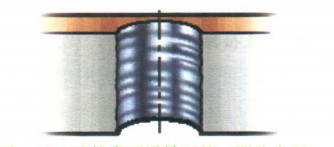
6. Poor Hole Surface Quality
Poor surface quality of the holes machined by replaceable drill bits (Figure 7) is mainly due to chip scratches on the machined surface (drilling chips all flow out from the machined surface, and long chips are particularly prone to scratching the machined surface), and occasionally some knife marks caused by too large a feed rate. Therefore, the first step is to control the chips well and choose the appropriate blade groove type. Of course, increasing the cutting fluid flow rate can also help with chip removal (while also paying attention to cleaning the filter and the cutting fluid hole in the drill bit). Secondly, you can consider reducing the feed rate to reduce knife marks (if you must maintain the feed rate to ensure machining efficiency, you can also increase the rotation speed), and you can also use an outer blade with a finishing edge to reduce knife marks. In addition, reducing the drill bit overhang and improving workpiece stability is also an option to improve surface quality.
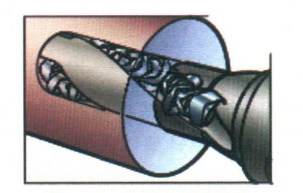
7. Chip Clogging in the Groove
Chip clogging in the groove of a replaceable drill bit (Figure 8) is an extremely dangerous situation during use, which can often cause the drill to twist off and must be eliminated. Therefore, the following measures can be taken:
1) Check the geometric shape of the blade and the recommended cutting parameters.
2) Increase the cutting fluid flow rate, clean the filter, and clean the cutting fluid hole in the drill bit.
3) Reduce the feed rate within the recommended cutting parameters.
4) Increase the cutting speed within the recommended cutting parameters.
8. Poor Tool Life
Poor tool life is actually the premature failure of the tool (Figure 9), and the manifestations of premature failure of the tool body are: first, the tool body edge is quickly worn out with many grooves, which are mostly caused by long chips winding around the tool body and being squeezed by the hole, and are often accompanied by poor hole surface quality. It is recommended to read the section "Poor Hole Surface Quality" in this section; another common phenomenon is the drill rod breaking, which is basically the result of chip clogging in the groove of the replaceable drill bit.